Why Most eSIMs for Malaysia Fail Before You Even Land
The first hidden risk lies in device compatibility. Many North American and European smartphones sold through carrier channels ship with eSIM profiles locked to those operators, and even when the hardware supports the technology, the software may refuse to accept an external profile until the original contract ends or a carrier unlock is processed. A second, less obvious risk is regional coverage. Malaysia is not one contiguous network;
the peninsula and Borneo are served by different tower grids, and not every provider negotiates access to both. A third risk is data throttling. Some prepaid plans advertise a headline figure that looks generous but apply a fair-usage policy that drops speeds to 2G after a few gigabytes, which is barely enough for navigation and messaging, let alone video calls or cloud photo backup.
How Regional Coverage Shapes Your Choice
Malaysia’s geography dictates more than sightseeing routes. The South China Sea separates Peninsular Malaysia from Sabah and Sarawak, and the cellular backhaul that serves the eastern states often runs through different international gateways. When you scan product pages, look for explicit mention of “East Malaysia coverage” or “Borneo roaming” rather than assuming the entire country is included. Providers that only list Kuala Lumpur, Penang, and Johor Bahru in their coverage maps are usually relying on a single national partner and may not have a secondary agreement in place for the eastern states. If your itinerary includes a flight from KL to KK, that short hop can be the difference between a working phone and an expensive paperweight.
Another factor is the type of eSIM offered. Some services sell a local-only profile that registers you on a Malaysian number, while others provide an international profile that keeps your home number active and simply adds data. The former is cheaper and faster for data speeds, but the latter is safer if you need two-factor authentication codes sent to your original number. Check whether the plan supports dual-SIM standby, because many modern phones can run one physical SIM and one eSIM at the same time, letting you keep your home line for security while the eSIM handles navigation and translation.
Device Checks You Must Complete Before Departure
Start by opening your phone’s settings and locating the eSIM management menu. On iOS this sits under Cellular > Cellular Data Options > Cellular Data, while on Android it is typically under Network & Internet > SIM cards. Verify that the “Add Cellular Plan” option is visible and that no carrier lock banner appears. If the device is financed or tied to a monthly plan, contact the original provider and request an unlock;
some carriers process this automatically once the account is in good standing, while others require a formal request and a waiting period that can stretch to ten business days.
Next, confirm that your phone’s firmware is up to date. Apple and Google have both released updates that expanded the list of supported carriers and fixed bugs where eSIM profiles would silently fail to download. A factory reset is not necessary, but clearing the cache partition on Android can remove stale carrier bundles that interfere with new profiles. Finally, take a screenshot of your device’s IMEI and eSIM ICCID;
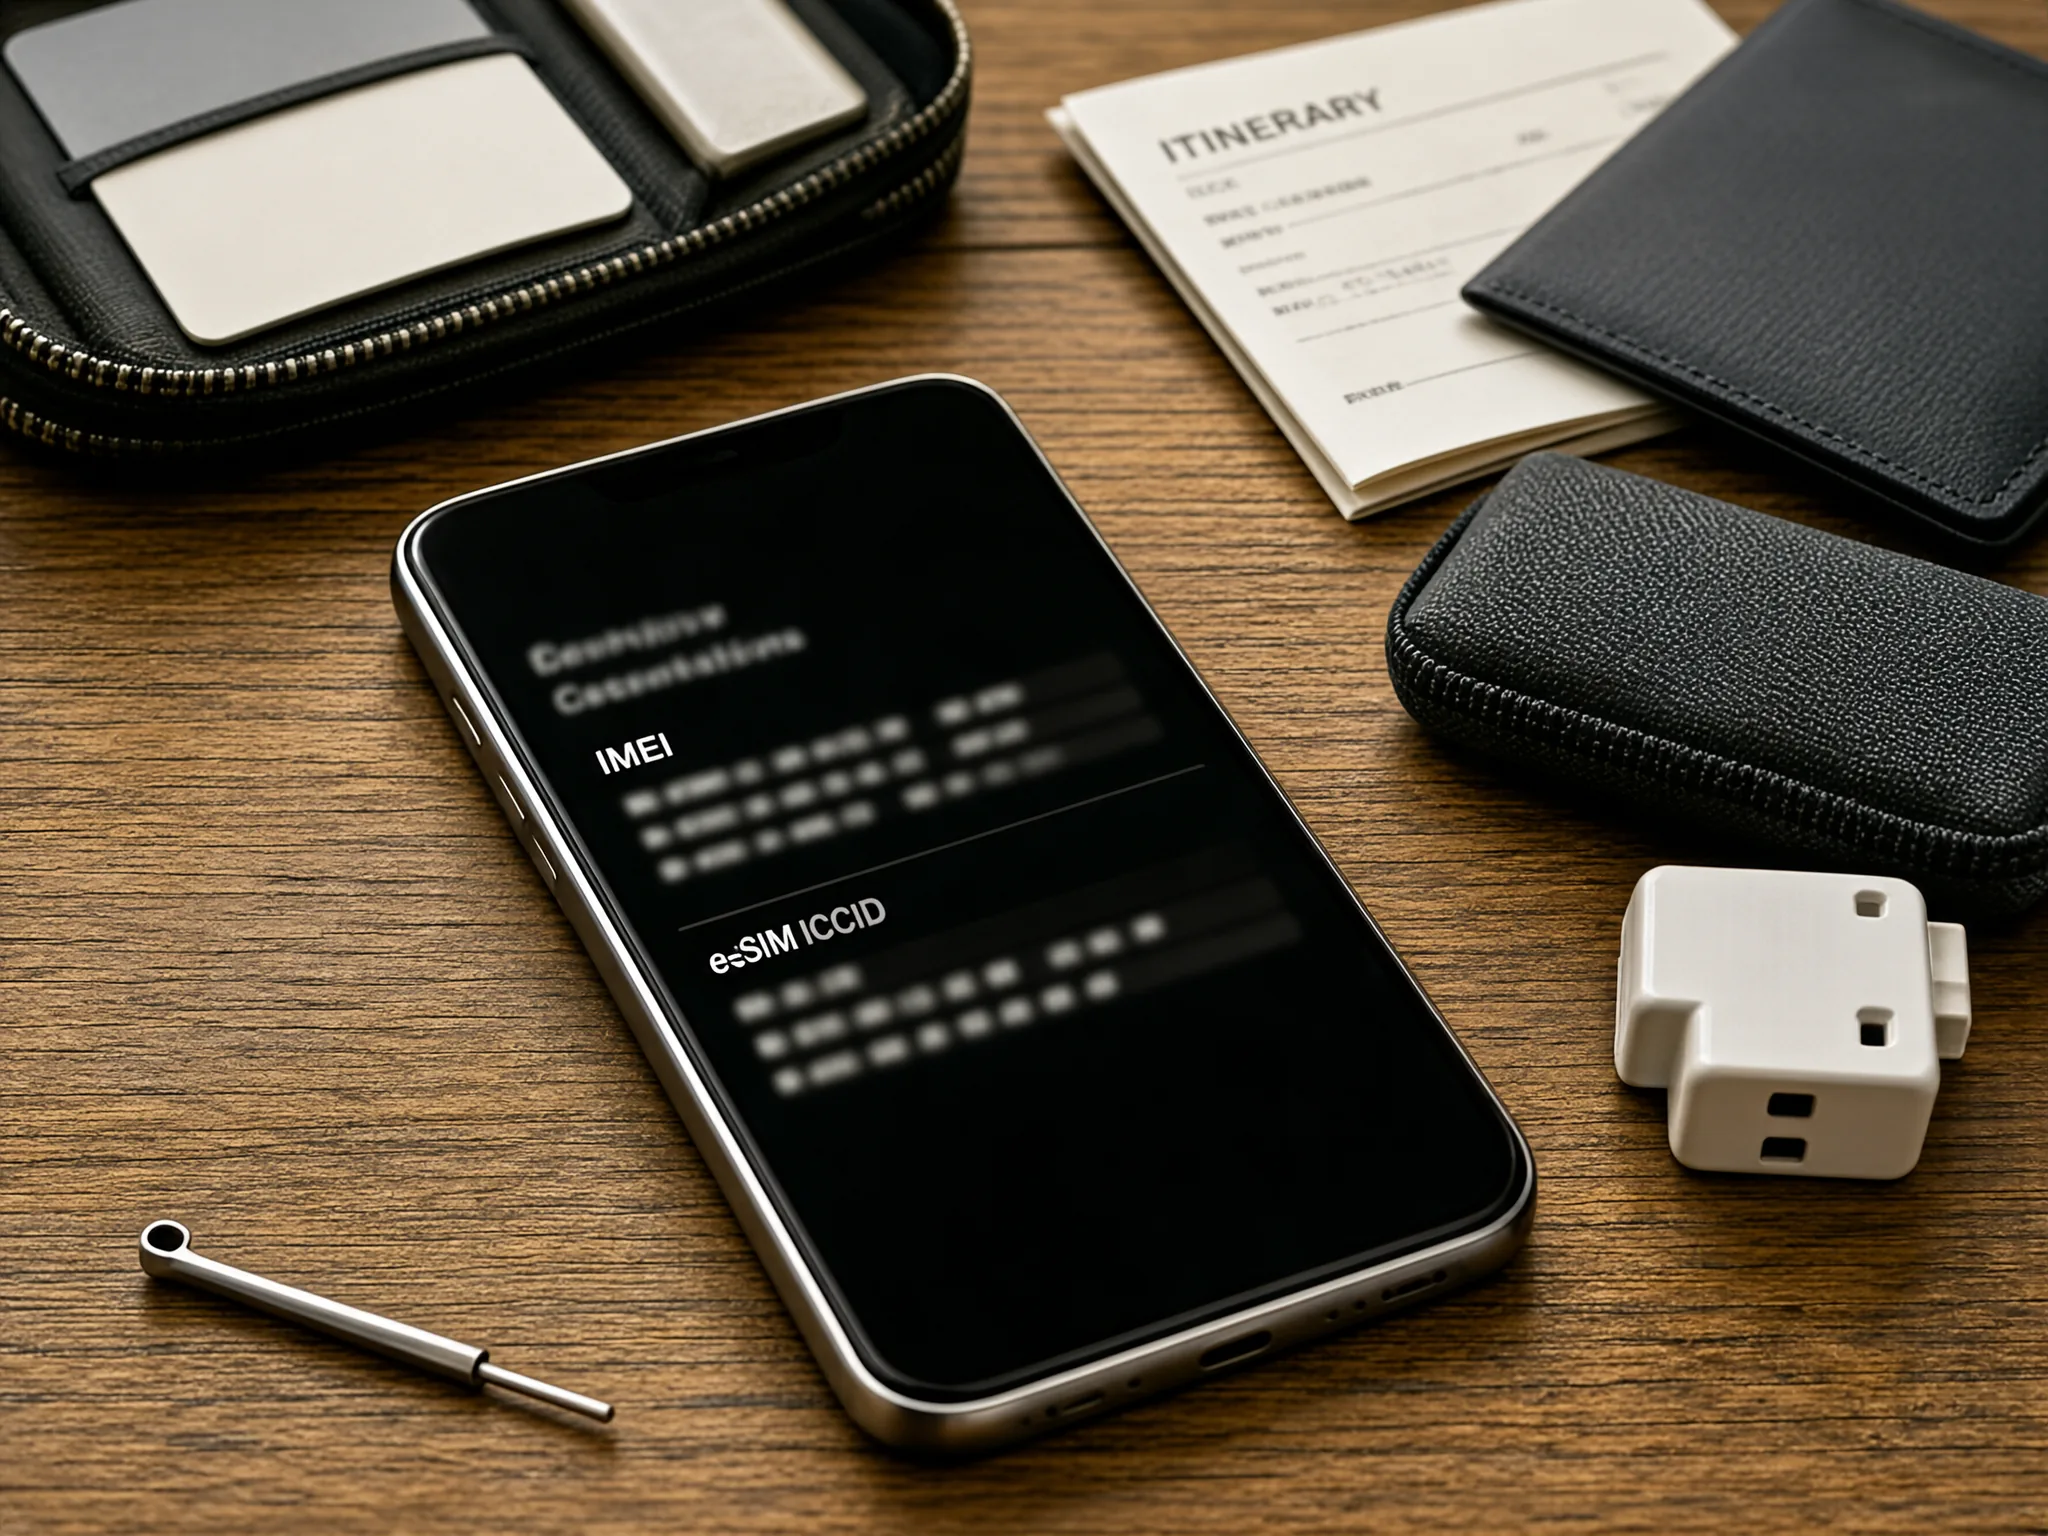
these identifiers are required if you need to contact support from the road.
Data Plan Selection: Reading the Fine Print
The headline price is only the starting point. Look for three details in the plan description: the total data allowance, the speed tier after the high-speed bucket is exhausted, and any fair-usage clause that mentions throttling. A plan that offers “unlimited” data often caps high-speed usage at 2 or 3 GB and then reduces speeds to 128 kbps, which is sufficient for text messages and turn-by-turn navigation but not for streaming or video calls. If your trip involves uploading videos or using cloud-based photo storage, choose a plan with at least 10 GB of high-speed data.
Also check whether the plan includes Malaysia’s 5G bands. Most major cities now have 5G coverage, and the speed difference between 4G LTE and 5G can be tenfold in dense urban areas. If you are traveling outside the capital, however, 5G towers are sparse, and 4G remains the more reliable fallback. Do not pay a premium for 5G if your itinerary is limited to rural homestays and national parks.
Step-by-Step Activation Sequence
Purchase the eSIM from your chosen provider at least 48 hours before departure. Most vendors send a QR code by email;
print it out or save it to your phone’s camera roll in case the airport Wi-Fi is unreliable. Once you are airborne, switch your phone to airplane mode to prevent it from latching onto a roaming partner at exorbitant rates. After landing, disable airplane mode and open the QR code scanner from your phone’s camera app. Follow the prompts to add the profile;
the process usually takes two to three minutes.
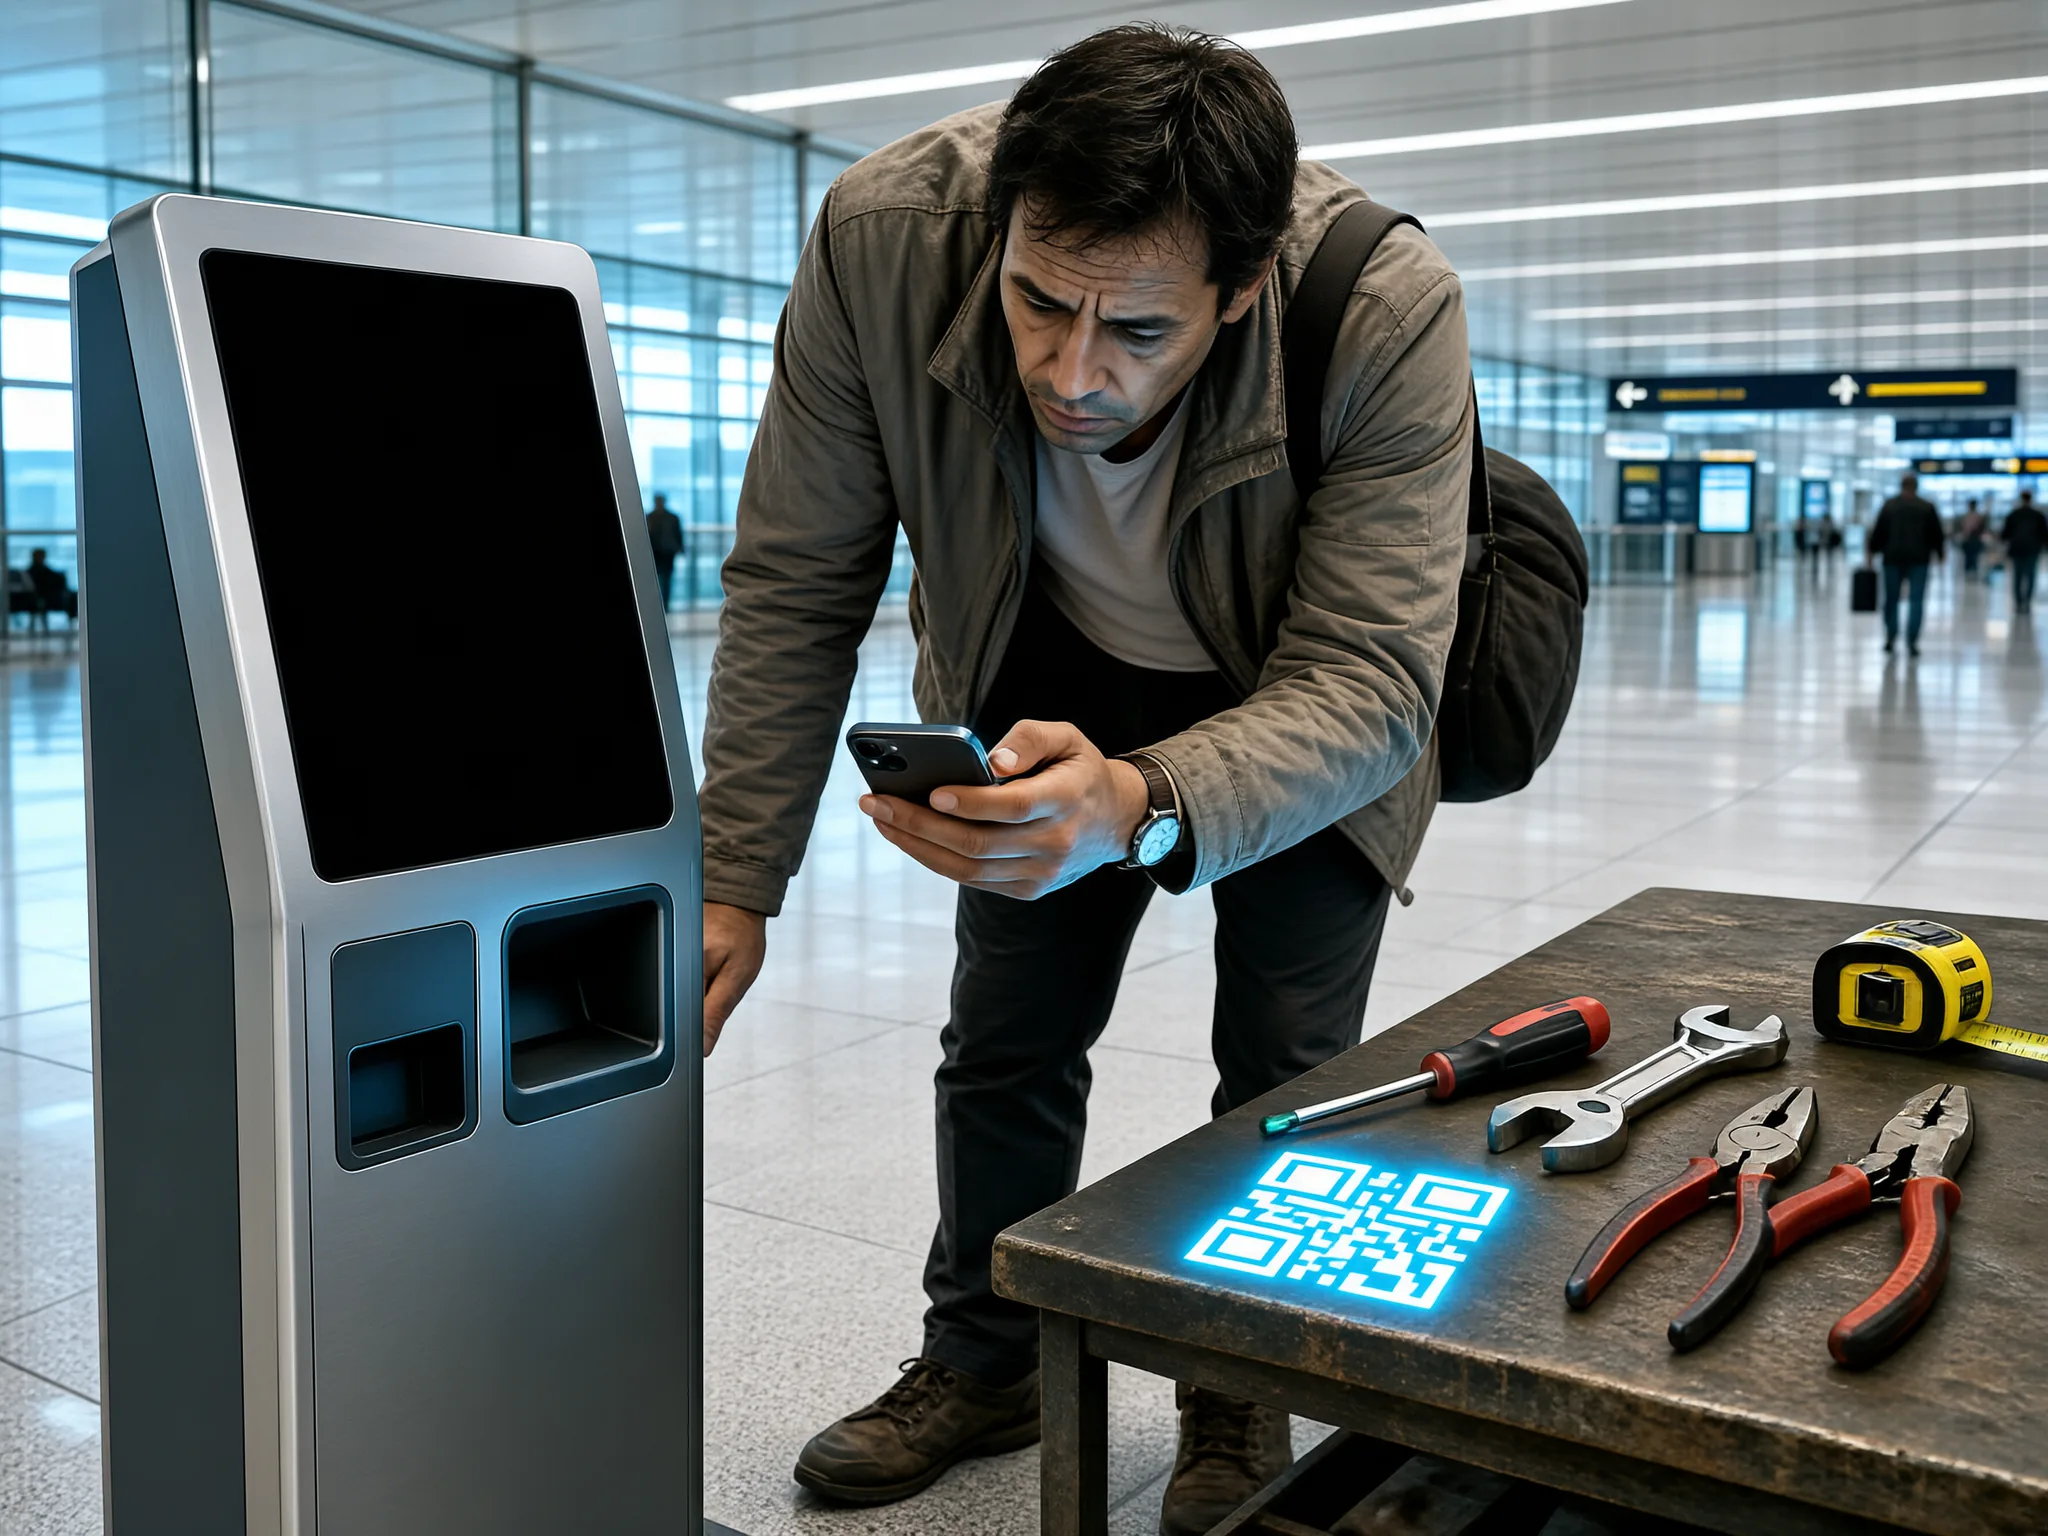
When the profile appears in your settings, enable “Data Roaming” and “eSIM” simultaneously. Some phones require you to label the new plan—choose something memorable like “Malaysia Data.” Before you leave the airport, open a browser and load a map or a ride-hailing app to confirm that data is flowing. If the connection fails, toggle mobile data off and on again;
this forces the phone to re-register on the tower and often clears the issue.