From Local SIM to eSIM: How Long-Term Travelers Cut Costs
For a long trip, an eSIM can make changing destinations easier, but it does not guarantee a lower bill. Compare a local prepaid SIM, a travel eSIM and your home carrier’s roaming option against the same itinerary and data allowance. This guide explains which costs to check, how to prepare a compatible phone, and how to avoid losing access to messages or paying for an unsuitable plan.
Start with your actual route rather than a headline discount. A local prepaid option may suit a long stay in one country, while a regional eSIM may simplify several border crossings. The relevant comparison includes taxes, activation conditions, top-ups, unused data and the time spent obtaining service. Neither a physical SIM nor an eSIM is inherently cheaper: the supplier’s current terms determine the result.
Cost Comparison: eSIM vs Local SIM vs Roaming
Make a comparison sheet with one row per offer. Record the final checkout price, currency, included destinations, usable data, validity period and any activation deadline. Add your home carrier’s actual roaming quote using the same travel dates. An unlimited label needs a separate check for fair-use restrictions, reduced speeds and hotspot limits. Do not turn a daily price into a trip total until you know how the supplier counts a day.

Next calculate the cost of keeping service for your whole stay. A cheaper short-validity offer may need several purchases, and a top-up may add data without extending the expiry date. Conversely, a larger allowance is poor value if most of it will expire unused. Keep all comparisons in one currency and note any conversion fees separately. Save a dated copy of the terms rather than treating this article as a live price list.
Step-by-Step Transition to eSIM
Check phone compatibility using the exact model number, purchase region and carrier-lock status. A familiar product name or an Add eSIM menu alone does not establish that a particular regional model will work with every supplier. Confirm the supplier supports that device and the destination network. Then estimate data from the usage history of your own phone, allowing for maps, uploads, calls and any laptop connected through a hotspot.
Choose between a country plan and a regional plan by checking every stop, including transit locations where you need mobile data. A regional name does not establish that all neighbouring countries or islands are included. Ask whether the service is data only, whether tethering is allowed, which partner networks are available and how unused data is treated. Keep your order reference and the written plan conditions somewhere available without a mobile connection.
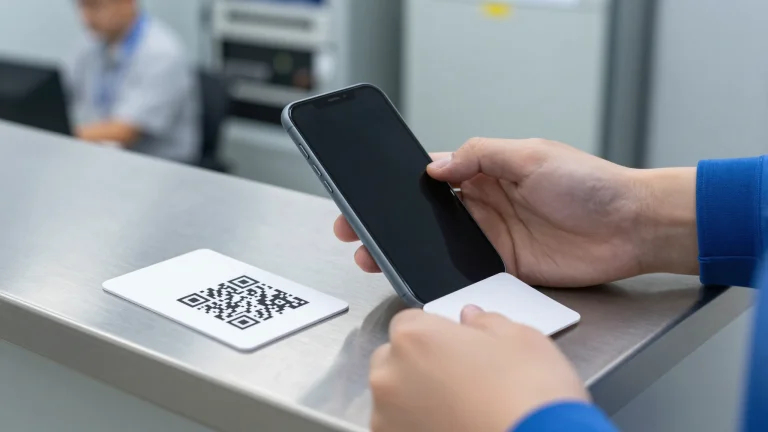
Separate installation from activation. Downloading a profile over reliable Wi-Fi and starting the paid validity period can be different events, depending on the supplier. Read the actual start rule before scanning the QR code: some plans start on installation, some on first supported network connection, and others on a stated date. Installing before departure can help with preparation, but a successful home Wi-Fi download does not prove destination network coverage.
Label your travel line clearly and select it for mobile data when appropriate. Keep the home line available for calls or verification messages only if you understand its roaming charges. Disable automatic data switching if it could use the home line unexpectedly. Enable data roaming on the travel line only as directed by its supplier; that setting and roaming on the home line are separate decisions. Track usage in both phone settings and the supplier’s account because their counters may update at different times.

Risks, Limitations, and Low-Risk Fixes
Check communications as well as internet access. A data-only eSIM does not automatically include a local phone number, normal calls or SMS. Keeping your existing number active may help with account verification, but receipt of messages and any charges depend on your home carrier. Set up another approved sign-in method before leaving. Keep emergency numbers and essential bookings available offline so that losing a data connection does not also remove your recovery information.
If the profile is installed but data does not work, check that the travel line is enabled, selected for mobile data and within its validity period. Verify the supplier’s roaming and APN instructions before changing settings. Toggle flight mode, then restart if needed. Use manual network selection only when the supplier identifies an eligible partner. Do not delete the profile as an early troubleshooting step: a QR code may have a limited number of uses, and reinstallation may require support.
Contact the supplier over Wi-Fi with the model number, operating-system version, order reference, location and exact error message. Share activation credentials only through the supplier’s verified private channel, never a public forum. Do not assume a response time, replacement or refund is guaranteed. Before buying a replacement, ask what has failed and whether the existing profile can be restored. Keep a backup connection option suited to your device rather than assuming every phone accepts a physical SIM.
Before departure, finish four practical checks: compare the full trip cost, confirm the exact device and route, read the validity start rule, and prepare an offline recovery plan. Review network coverage again if your itinerary changes. Savings come from choosing terms that match the trip and avoiding duplicate purchases or unintended roaming; there is no universal percentage saving that applies to every destination, device or traveller.