Why My First Philippine Prepaid eSIM Setup Failed (and How Yours Won't)
the failure almost always comes from skipped steps on your end.
What Actually Causes a Prepaid eSIM to Fail on Arrival
device compatibility trips up more travelers than any other issue. Not every phone sold in every region supports eSIM technology. Some older iPhone models, budget Android phones, and certain Chinese-market devices lack the eSIM chip entirely. Even on supported phones, the eSIM profile may fail to download if your phone’s carrier settings are outdated or if you try to install it while connected to a roaming network that blocks the download.
the installation sequence matters more than people expect. If you install the eSIM while your physical home SIM is active and roaming, the phone may route the eSIM profile download through your home carrier’s slow roaming data. That can cause a timeout, a corrupted download, or a profile that installs but won’t register on the local network. The fix is simple: download the eSIM profile while still on Wi-Fi at home or at the airport before inserting any physical SIM.
Step-by-Step: Install Your Philippine Prepaid eSIM Before You Fly
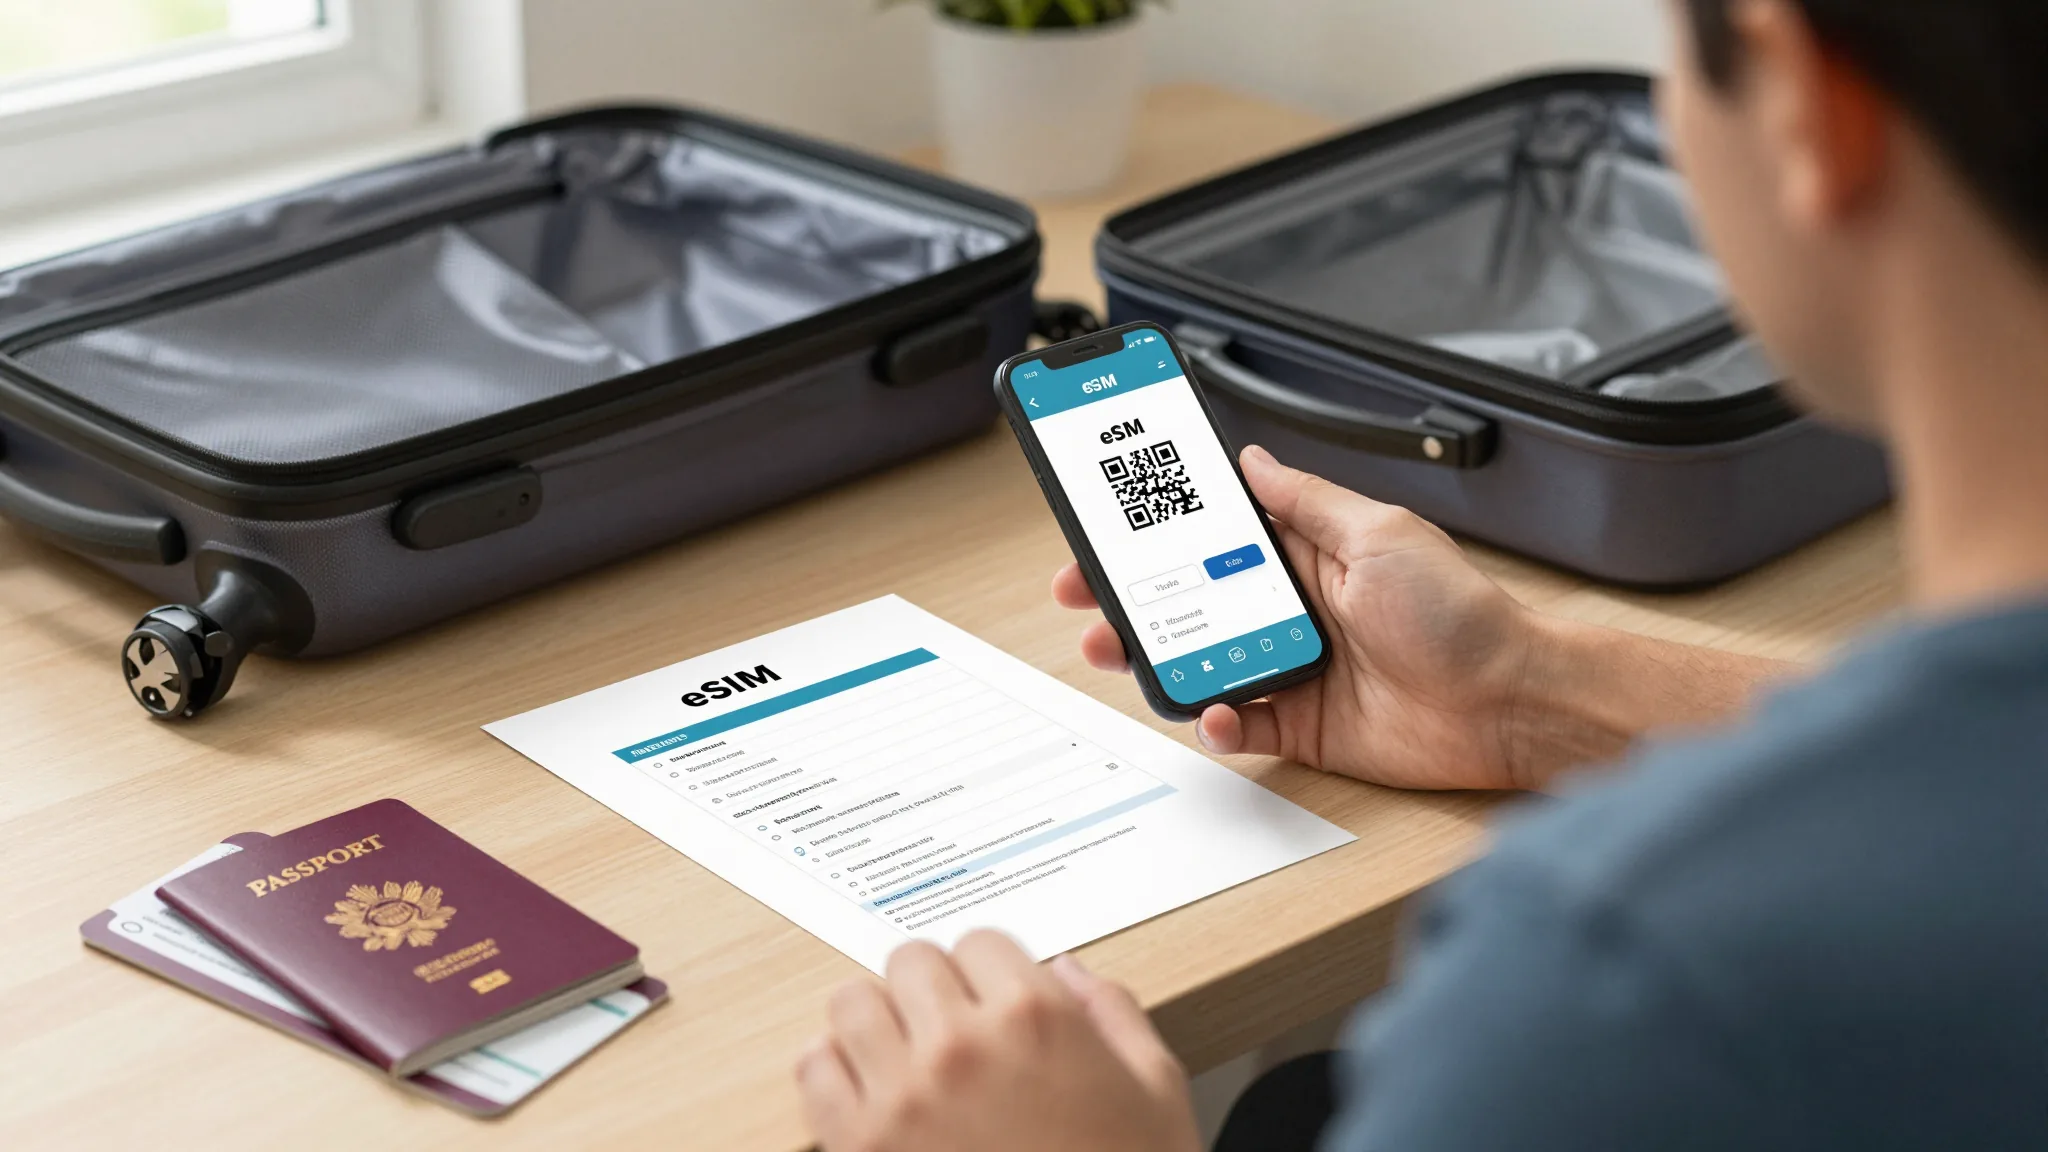
Start by checking device compatibility. Go to your phone’s settings menu, find the “About Phone” or “General” section, and look for an “EID” or “Digital SIM” entry. If you see an EID number, your phone supports eSIM. If not, you’ll need a physical SIM instead—don’t waste time trying to force an eSIM onto unsupported hardware.
Next, purchase your prepaid eSIM from a reputable provider that offers Philippine network coverage. You’ll receive a QR code or a manual activation code via email. Do not scan that QR code while connected to cellular roaming. Instead, connect to a stable Wi-Fi network, then go to your phone’s cellular settings and choose “Add Data Plan” or “Add eSIM.” Scan the QR code and follow the prompts.
After landing, turn on your phone. The eSIM should connect to the Philippine network within a minute or two. If it doesn’t, toggle airplane mode on and off, then manually select the network in your cellular settings. If that fails, restart the phone entirely.
How Much Data Do You Actually Need for a Philippine Trip?
Data allowance is where most travelers either overspend or run out at the worst moment. For a one-week stay on a single island, a 3GB plan is the realistic minimum. That covers maps, messaging apps, social media scrolling, and occasional photo uploads—but not video calls or streaming. If you plan to upload daily photos and make short video calls, choose 5GB for a week.
One important detail: check the validity period. A 1GB plan might last only seven days, while 3GB and above often lasts thirty days. If you’re staying for ten days, a 1GB plan will expire before you leave, forcing a top-up. Always match the validity period to your actual trip length, not just the data amount.

What Should You Do If Your eSIM Still Won’t Connect?
manually search for available networks. Go to cellular settings, choose “Network Selection,” and turn off automatic selection. Wait for the list of available networks to appear, then pick the one matching your provider. This forces the phone to register even if the automatic selection failed.
restart the phone with the eSIM line as the active data line.
if nothing works, contact your eSIM provider’s customer support. Most providers can reset the profile remotely or issue a new QR code.
A final practical tip: screenshot your eSIM’s ICCID or serial number before you travel. If you need support while in the Philippines, customer service will ask for this number, and you won’t have email access if your data isn’t working. Also, save a PDF of your registration confirmation to your phone’s offline files. That document proves your line is registered if any network issue arises.
The difference between a smooth arrival and a frustrating one comes down to three actions: verify device support, install on Wi-Fi before flying, and complete government registration before landing. Do those three things, and your Philippine prepaid eSIM will work exactly as intended—leaving you free to focus on the islands instead of your phone’s signal bar.
Related guides
- 为什么我的第一张菲律宾预付费eSIM设置失败了(以及如何确保你的不会)
- 為什麼我第一次設定菲律賓預付費 eSIM 失敗了(以及為什麼你的不會)
- 私の最初のフィリピン・プリペイドeSIM設定が失敗した理由(そしてあなたは失敗しない方法)