
Need to Remove an eSIM? Here’s Exactly How to Delete It Safely on iPhone and Android
You’ve finished your international trip, switched carriers, or maybe you’re preparing to sell your phone—and now you’re staring at an eSIM profile in your settings wondering how to get rid of it. The core solution is simple: deleting an eSIM is a straightforward process that takes less than a minute on both iPhone and Android, and it doesn’t cancel your service with the carrier—it just removes the digital profile from your device. In this guide, I’ll walk you through the exact steps for deleting an eSIM on both platforms, explain what happens when you remove one, and cover the important precautions to take before you hit that delete button.
First, let’s understand what an eSIM is and what deleting it actually does. An eSIM—short for embedded SIM—is a digital SIM chip built directly into your phone. Instead of inserting a physical plastic card, you download a cellular plan wirelessly via a QR code, carrier app, or manual activation. When you delete an eSIM profile, you’re simply removing that digital connection from your device. You are not canceling your service plan with the carrier. Think of it like taking a physical SIM card out of your phone: the SIM card itself still exists, and your account with the carrier remains active, but the phone no longer has access to that line. If you ever want to use that same plan again, you’ll typically need to re-download the eSIM profile via the original QR code, your carrier’s app, or by contacting customer support. This distinction is crucial: if you’re deleting an old travel eSIM that has expired, there’s no risk to your service. If you’re deleting your primary eSIM, make sure you have an alternative way to stay connected before you do it.
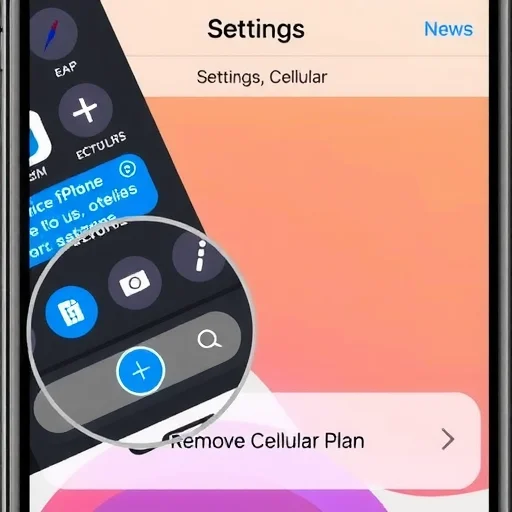
Now, let’s get into the step-by-step process for iPhone. The process is consistent across all iPhones that support eSIM—that’s iPhone XR, XS, and later models, including all iPhone 11 through 16 series. Open the Settings app. Tap on “Cellular” (or “Mobile Data” depending on your region). You’ll see a section labeled “Cellular Plans” that lists all your active and installed eSIM profiles. Tap on the eSIM plan you want to delete. Scroll all the way to the bottom of that plan’s settings page. You’ll see a red button labeled “Remove Cellular Plan.” Tap it. A confirmation pop-up will appear asking if you’re sure you want to remove the plan. Tap “Remove” to confirm. That’s it—the eSIM is now deleted from your iPhone.

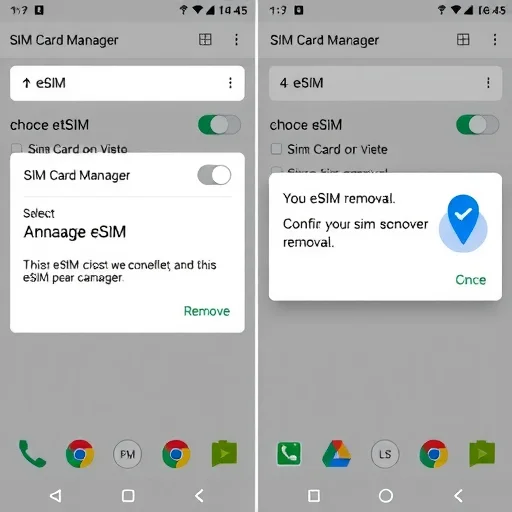
For Android, the steps vary slightly depending on the manufacturer, but the general approach is the same across Samsung, Google Pixel, and most other Android devices. Open Settings. Look for “Connections” or “Network & Internet.” Tap on “SIM Card Manager” (on Samsung) or “SIMs” (on Pixel and stock Android). You’ll see a list of your SIMs—both physical SIMs and eSIM profiles will be displayed here. Tap on the eSIM you want to delete. Look for an option like “Remove,” “Delete,” “Erase SIM,” or “Deactivate.” Confirm the removal when prompted. On some Android devices, you may need to first disable the eSIM before the option to remove it appears. If you’re using a Samsung Galaxy device, the path is typically Settings > Connections > SIM Card Manager, then tap the eSIM and select “Remove.” On Google Pixel, go to Settings > Network & Internet > SIMs, tap the eSIM, and select “Erase SIM.”
Before you delete an eSIM, there are a few important precautions to consider. First, if you’re deleting your primary eSIM—the one you use for daily calls, texts, and cellular data—make sure you have an alternative way to stay connected. If your phone uses eSIM as its only active cellular plan and you delete it, your phone will lose all cellular connectivity until you add a new plan. That means no calls, no texts, no cellular data. If you’re switching to a new carrier, have that new SIM or eSIM ready before deleting the old one. If you’re switching to a physical SIM, have it inserted and activated. If you’re simply cleaning up old profiles and your primary eSIM is active and in use, you can safely leave it untouched and only delete the ones you no longer need. Second, if you’re preparing to sell, trade in, or give away your phone, deleting your eSIM is an essential privacy step. An eSIM profile contains carrier account information tied to your identity. Leaving it on the device could allow the next owner to access services under your account or cause activation conflicts when they try to set up their own service. After deleting eSIMs, you should also perform a factory reset to wipe all personal data. Third, for travel eSIMs that have expired or are no longer needed, there’s no risk in deleting them. They’re already inactive, and keeping them only clutters your settings. If you ever travel to the same destination again, you can simply purchase a fresh eSIM.
Let’s walk through a few real-world scenarios to illustrate why and when you might delete an eSIM. First, consider a traveler named David. He recently returned from a two-week trip to Japan, where he used a travel eSIM for data. The eSIM plan has now expired, and it’s sitting in his iPhone’s Cellular Plans list, doing nothing except taking up space. Occasionally, when he’s in an area with weak signal, his phone tries to connect to that expired Japanese eSIM, causing brief connectivity glitches. David opens Settings > Cellular, taps the expired eSIM, scrolls down, and taps “Remove Cellular Plan.” The eSIM is gone. His settings are cleaner, and the connectivity hiccup disappears. If he ever goes back to Japan, he can simply buy a new travel eSIM.
Second, consider Maria, who is switching carriers. She’s been using an eSIM from Carrier A on her Pixel phone, but she’s moving to Carrier B for a better plan. Before she deletes the old eSIM, she signs up with Carrier B and downloads their eSIM via their app. Once the new eSIM is installed and active, she goes to Settings > Network & Internet > SIMs, taps the old eSIM, and selects “Erase SIM.” She now has only the new carrier’s eSIM on her phone, and the old profile is completely removed. No physical SIM swapping, no waiting for a card in the mail—just a clean digital transition.
Third, consider a user selling an iPhone. James is upgrading to a new phone and wants to wipe his old iPhone 14 completely before selling it. His iPhone 14 uses an eSIM as its primary line. Before resetting the phone, he goes to Settings > Cellular, taps his primary eSIM, and removes it. He then performs a factory reset (Settings > General > Transfer or Reset iPhone > Erase All Content and Settings). When the new owner receives the phone, there are no lingering eSIM profiles, no carrier account info left behind, and the phone is ready for them to add their own cellular plan.
One common question is whether deleting an eSIM deactivates your service with the carrier. The answer is no. Deleting the eSIM profile from your phone does not cancel your service plan. Your carrier still has your account active. If you’ve deleted an eSIM accidentally or changed your mind, you can usually re-add it by scanning the original QR code again (if you saved it), using your carrier’s app to download the profile, or contacting customer support for a new QR code. For postpaid plans from major carriers, re-adding is typically straightforward. For prepaid travel eSIMs that have expired, there’s usually no need to re-add them anyway.
Another important point: your phone can store multiple eSIM profiles but can only have a certain number active at once. On iPhone, you can store many eSIMs but only have two active simultaneously (one primary and one secondary, like a travel line). On Android, this varies by device but typically allows multiple stored profiles with one or two active at a time. If you’ve been downloading eSIMs for different trips or testing multiple carriers, deleting the ones you no longer use frees up storage and keeps your settings manageable. It also prevents the phone from occasionally trying to connect to a network from an old profile when you’re in range.
If you’re troubleshooting connectivity issues, deleting a problematic eSIM is often a good first step. Sometimes a partially downloaded eSIM or one that conflicts with a physical SIM can cause network problems. By removing the eSIM and then re-adding it fresh, you can often resolve these issues without needing to contact support.
A final note on security: if you’re selling your phone or giving it away, deleting your eSIM is just as important as signing out of iCloud or your Google account. Even after a factory reset, some eSIM profiles may persist if not manually removed. Taking the extra minute to delete them ensures your carrier information isn’t left behind for someone else to access.
Deleting an eSIM is one of those simple skills every smartphone user should know. Whether you’re cleaning up old travel profiles, switching carriers, or preparing to sell your device, the process takes less than a minute and gives you full control over your phone’s cellular setup. Because you can always re-add a valid eSIM later, there’s no risk in removing profiles you no longer need. So don’t be afraid to hit that Remove button—your phone will thank you. Deleting an eSIM removes the digital profile from your phone without canceling your carrier service. On iPhone: Settings > Cellular > tap plan > Remove Cellular Plan. On Android: Settings > Connections > SIM Card Manager (or Network & Internet > SIMs) > tap eSIM > Remove/Erase. Always ensure you have an alternative connection before deleting your primary eSIM.
Just deleted an old travel eSIM from my Japan trip last year. Had no idea it was so simple. Always thought I needed to call someone or go through some complicated process. Took me 20 seconds on my iPhone. Thanks for the guide!
Be careful if you’re deleting your primary eSIM! I did this accidentally while trying to clean up old profiles and was without service for an hour until I could get my carrier to send me a new QR code. Read the warning messages before you tap remove.
On my Samsung, I had to disable the eSIM first before the remove option appeared. Might be helpful to mention that for Android users. Once I figured that out, it was super easy. Cleaned out three old eSIMs in under two minutes.
Selling my old Pixel and used this to delete my eSIM before factory reset. Felt good knowing the next owner won’t have any of my carrier info hanging around. Privacy matters.
Wish I knew this before I traded in my last phone. I just factory reset it without deleting the eSIM first and the store had trouble reactivating it. Now I know to always remove eSIMs manually before resetting. Lesson learned.